
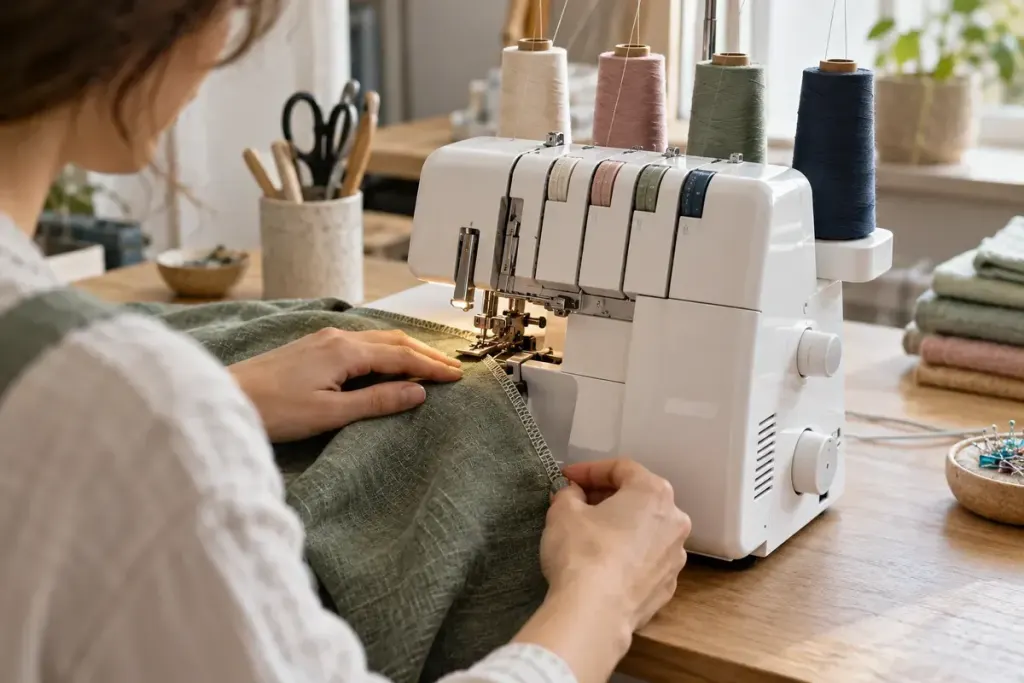
An overlocker can turn a fraying edge into a tidy row of loops remarkably quickly. That speed makes it tempting to send every seam through the machine. Before doing so, separate three questions: does the seam need joining, does the edge need finishing, and must the stitching carry a particular load or stretch?
BERNINA’s overlock-stitch guide shows several applications rather than one universal stitch. Thread arrangements and machine capabilities matter. A narrow edge finish is not automatically equivalent to a seam intended to hold a garment together.
Start with the fabric offcut
Use an offcut of the same fabric, folded into the same number of layers as the real seam. Check both faces of the stitching, then open or stretch the sample in the way the garment will be used. If the edge waves, puckers or pulls apart, investigate the settings and stitch choice before touching the garment.
Remember the knife. On many overlockers, trimming and stitching happen together, so the machine can remove an allowance you meant to keep. Practise guiding the sample and understand how your model engages or disengages its cutter. Follow the manual for threading, needle changes and safe access.
Keep the other machine’s jobs in view
A conventional sewing machine remains useful for tasks such as precise straight stitching, many zip installations and buttonholes. Some overlock machines have additional coverstitch functions; others do not. Buy or plan by the actual functions available, not by the general word “serger.”
For a small project, write a two-column seam plan: construction method and edge finish. A woven garment might use an ordinary seam followed by an overlocked edge, while a suitable knit seam may be constructed differently. The sample tells you whether the combination works before the finished piece has lost its spare fabric.