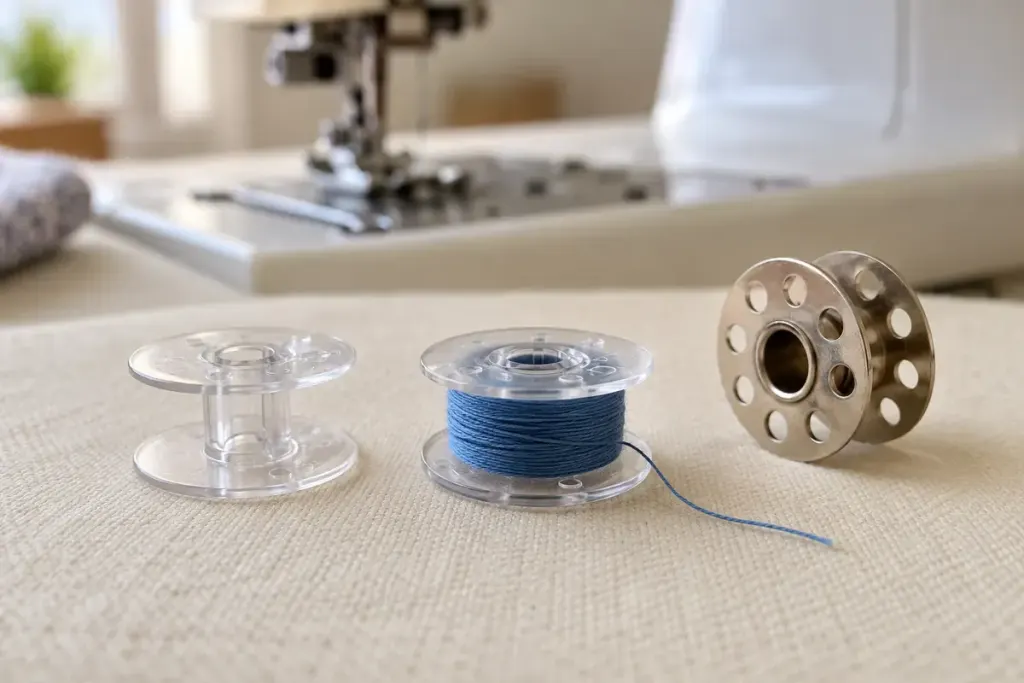
A bobbin rolls out of the sewing box and looks much like the one already in your machine. That resemblance is not enough to establish compatibility. The correct replacement depends on the machine’s specified bobbin type, not the colour of the thread wound around it.
For example, Brother’s instructions for the listed XL2600i/XL2610 models identify a particular bobbin type and warn against unsuitable alternatives. The part reference on that page is model-specific; it should not be copied as a recommendation for every sewing machine.
Find the machine, then the part
Write down the complete model designation and consult its manual or the manufacturer’s parts guidance. If a seller claims compatibility, compare the exact model list. A broad description such as “fits domestic machines” leaves too much unresolved.
Height, profile and material can differ between bobbins that appear interchangeable in a photograph. Do not file, bend or force one to make it fit. If the specification is unclear, ask an authorised supplier to identify the correct part before operating the machine.
Keep confirmed bobbins together
Once identified, store the bobbins with a small note naming the compatible machine and part reference. This is especially useful in a household with two machines or a sewing group where supplies are shared. Keep unidentified bobbins separate until they can be checked.
Follow the manual for winding, insertion and thread direction. Switch off or otherwise make the machine safe as instructed before handling the bobbin area. A correct part can still be incorrectly threaded, so compatibility and installation deserve separate checks.
After the correct bobbin is installed, test on an appropriate scrap of the project fabric. If stitching remains uneven, return to the manual’s troubleshooting sequence instead of changing several tension settings at once. Stop if the machine jams or makes an unusual noise. Knowing which bobbin belongs in the machine removes one uncertainty before you investigate the next.