
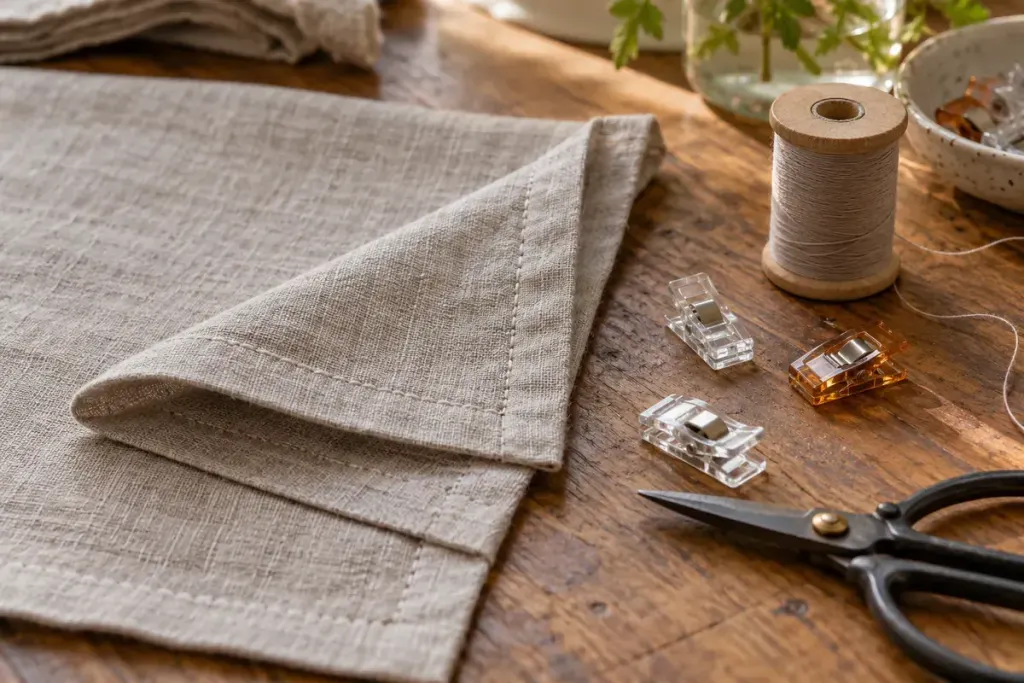
The corner of a cloth napkin has to accommodate two hems at once. Fold one over the other without a plan and the result can become a small hard lump. A mitred corner distributes that meeting diagonally, giving the edge a flatter, more deliberate finish.
Before cutting a whole set, make one test corner from the intended fabric. A light cotton and a loosely woven linen can respond differently to pressing and stitching. The sample is where you can discover that the chosen hem width overwhelms a small napkin.
Mark and press consistent allowances on both adjoining edges. The diagonal seam depends on those folds meeting accurately. If one side is wider, a neat diagonal line alone will not make the corner square.
BERNINA’s WeAllSew napkin tutorial demonstrates a sewn mitre: prepare the folds, bring the corner together diagonally, mark the seam, stitch, then trim and turn. Follow a complete method for the dimensions you choose rather than borrowing a trimming measurement from an unrelated hem.
Keep the first sample untrimmed until you have checked the seam against the folds. Trimming is the stage that removes your easy opportunity to start again. When turning, ease the point out gently with an appropriate turning tool instead of forcing a sharp object through the fabric.
Judge it as a napkin, not only as a close-up
Lay the piece on a flat surface. Does the corner sit down without twisting? Do both hems remain the same width as they leave the diagonal? Then fold it as it will be used on the table. A technically tidy seam can still feel too bulky if the fabric and hem depth are poorly matched.
Finish and wash the sample according to the fabric’s care requirements before committing to the remaining pieces. Keep it beside the machine as a reference for pressing and topstitching. Matching a successful sample is easier than trying to remember the exact fold that made the first corner work.