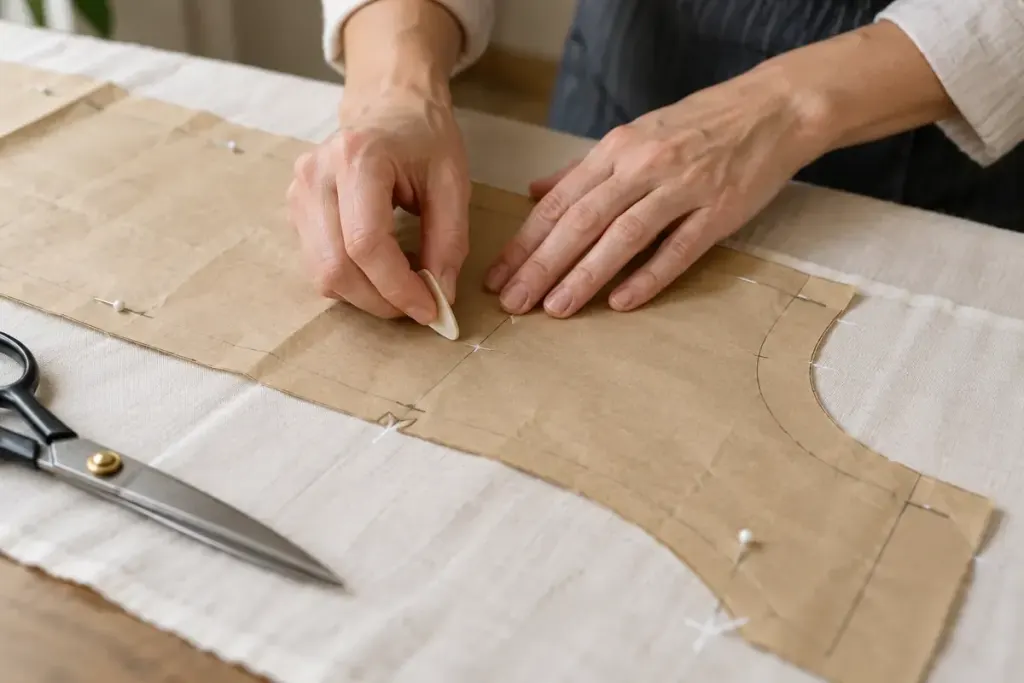
Two fabric pieces can have the right outline and still be awkward to join. The missing information is often a small notch that stayed on the paper when the pattern was lifted away.
Read the marks before cutting
Look through the pattern’s instructions and symbol key. Notches can distinguish front from back, identify matching points or divide a curved seam into manageable sections. A pair of marks is not necessarily decorative duplication. Transfer the number and location shown, rather than replacing every mark with the same single clip.
Choose a marking method suited to the fabric and the seam allowance. Tailor’s tacks or a tested removable mark may be preferable on delicate, loosely woven or fraying material. If the pattern permits a small clip, keep it within the allowance and well away from the stitching line. Do not borrow a clip depth from another project with a wider allowance.
Check both layers
When cutting a mirrored pair, confirm the marks reach both pieces. A clear chalk mark on the top layer does nothing for the lower piece. Before removing the paper, also transfer darts, fold lines and other symbols required by the instructions; a notch cannot substitute for all of them.
At assembly, lay the pieces in their sewing orientation and match the corresponding marks. If they do not meet, first check that the pieces are the correct pair and facing the right direction. Stretching one side to force an unexplained mismatch can hide a cutting or identification error.
A curved sleeve may deliberately have ease between specified points. The notches tell you where that shaping belongs; they do not promise that every centimetre of two raw edges will be identical. Follow the pattern’s method for distributing it.
Keep a practice offcut beside the project. Test whether your marking method disappears as intended and whether a clip begins to fray. That small trial is much cheaper than discovering, halfway through the garment, that the marks have vanished too soon or become visible on the finished face.