
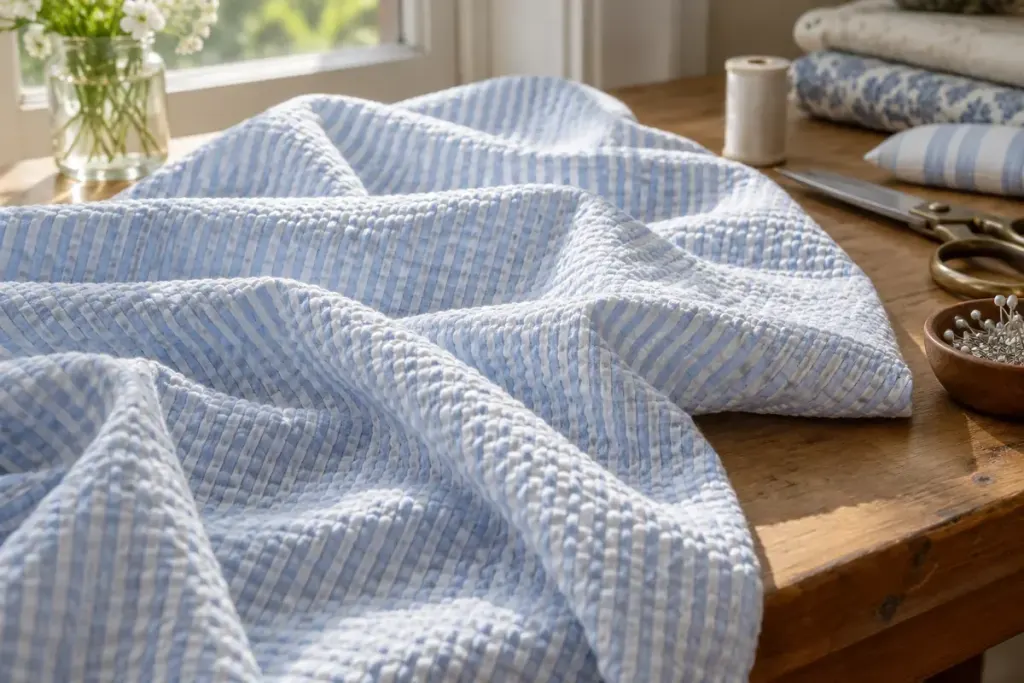
A striped seersucker shirt can look slightly rumpled even when it has just been washed and dried carefully. That raised-and-flat surface is part of the fabric’s character. Pressing until every ridge disappears may be an attempt to remove the very texture you chose.
Look beyond the stripe
Stripes alone do not identify a fabric. Examine the surface in side light and gently move a sample between your fingers. Seersucker is associated with a puckered construction, while a flat striped cloth can have a completely different handle. Fibre content and finishing also vary, so a shop label should tell you more than a colour name.
For a sewing project, ask for a sample large enough to fold and layer. A tiny swatch may show colour well but reveal little about bulk at a seam or how the cloth hangs. Write the supplier’s composition and care information beside the sample before it becomes separated from the listing.
Test care on the sample first
Follow the stated washing and drying instructions. If the eventual garment will be washed, prepare the sample in the same permitted way before assessing it. Compare the dimensions and texture after it has dried fully. This small check is more useful than assuming every seersucker behaves identically.
When pressing is allowed, test the appropriate setting on an inconspicuous area and observe the result. Avoid dragging or stretching a damp piece merely to make the stripes appear perfectly flat. A pressing cloth may be useful where the fabric instructions recommend one.
Construction decisions deserve the same attention. Fold a proposed hem, place two layers together and imagine the actual garment movement. If the sample feels too bulky for a narrow detail, simplify that detail or test another finish before cutting the full length.
Keep a cared-for swatch with your project notes. It gives you a realistic reference for the finished texture, including the puckers that belong there.