
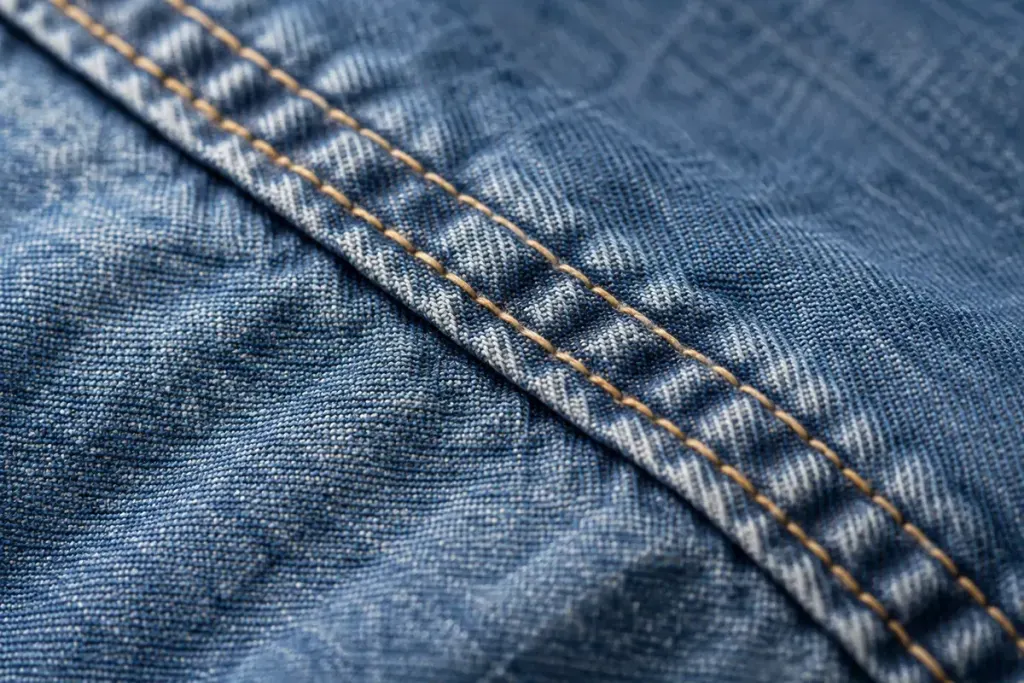
Turn a well-made shirt inside out and some seams look almost as deliberate on the reverse as on the outside. A flat-felled seam folds the raw edges into the join and secures the fold with stitching. The neatness comes from its construction, not from trimming every allowance as narrowly as possible.
BERNINA’s lap-seam-foot guide shows how a dedicated foot can produce the enclosed seam. Its dimensions apply to the specified feet. A hand-folded method or a different attachment may require a different starting allowance.
Decide which side will show the stitching
Before cutting, check the pattern’s seam allowance and construction method. A true flat-felled seam needs enough fabric to wrap one allowance around the other. A decorative second line sewn beside an ordinary seam does not, by itself, enclose the edges.
On two scraps, mark the intended outside with removable chalk. Sew the full sequence, then turn the sample over. Follow both raw edges with your eye: are they actually inside the fold, or does one peek out where the width changed?
Test the thick crossing too
A flat sample can behave well while a junction of several seams becomes awkward. Include a cross-seam in your trial if the garment will have one. Use a suitable needle, thread and machine setup for the fabric, and follow the machine’s guidance for negotiating bulky areas.
Press each stage rather than trying to control the folded layers entirely with the final row of stitching. Keep the fold width consistent, but do not pull the garment through the machine to force the lines straight. That can distort the join.
Finally, consider access. An enclosed trouser leg can be harder to stitch than two open panels. The construction order should leave room for the presser foot and your hands. A sample that includes the difficult part tells you more than a beautiful seam on an easy rectangle.