
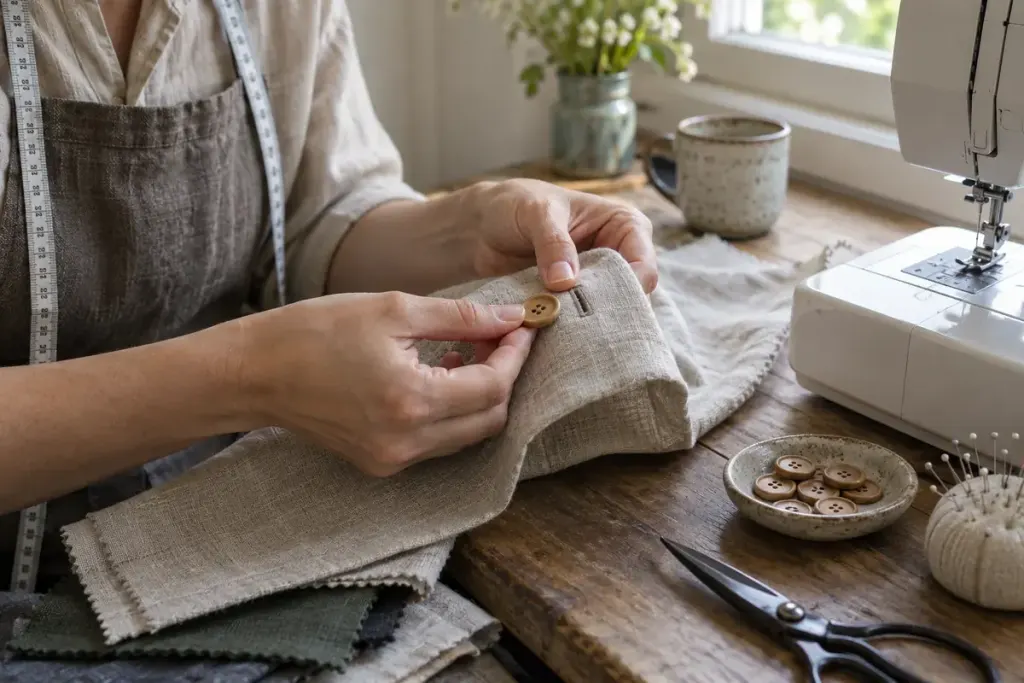
A buttonhole can look beautifully stitched and still be awkward to use. The opening must work with the actual button and the thickness of the finished garment. A trial on a single scrap of unrelated fabric does not reproduce those conditions.
Prepare a sample using the project’s fabric, supporting layers, and construction where the buttonhole will sit. Include a nearby seam if it affects the thickness under the machine foot. Keep the real button beside the sample rather than estimating from its appearance.
Use the machine’s own procedure
Buttonhole feet and automatic settings vary. Follow the manual for your machine, including the required foot and any setup steps. The bernette 33 manual, for example, recommends testing with fabric, interfacing, and seams matching the garment. Its machine-specific controls should not be transferred to another model by guesswork.
Mark the intended position and orientation on the sample. Stitch the test before cutting the opening. Use an appropriate cutting tool carefully and protect the end stitches according to a reliable technique or your instructor’s guidance.
Try the fastening, not just the stitches
Pass the actual button through several times without forcing it. Check whether the opening is practical, whether the fabric distorts, and whether the closed fastening sits as intended. A thick or shaped button may behave differently from a flat one of similar diameter.
If you adjust length or stitching, make another sample and label the successful settings. Do not assume the first test remains representative after changing thread, supporting layers, or the button itself.
Before sewing the garment, confirm the buttonhole positions with the pattern and a fitting check where appropriate. A successful sample establishes a method; it does not decide placement. Keeping those two checks separate makes the final fastening both usable and correctly located.