A garment can come out smaller than expected even when every pattern piece was cut accurately. One possible explanation is the distance between the cut edge and the stitching. That strip is the seam allowance, and it belongs to the pattern’s construction plan.
Before cutting, find out whether the allowance is included. Some patterns include it, some require you to add it, and different parts of the same project may use different widths. A hem allowance also has a different job from an ordinary joining seam.
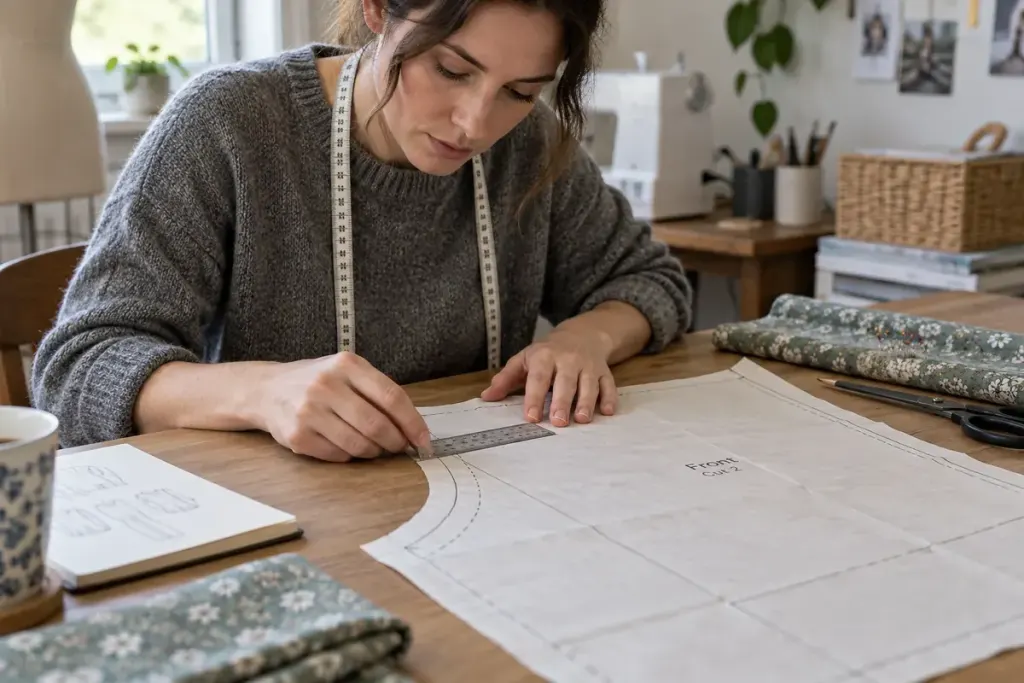
Locate the stitching line
Read the instructions and markings together. If the pattern supplies a cutting line but specifies an allowance, the stitching belongs that distance inside the edge. Adding an allowance to a pattern that already includes one can be just as troublesome as forgetting it.
Use a small ruler to identify the correct guide on your machine. The edge of a presser foot is convenient only when it corresponds to the required distance. Make a short sample seam and measure it before assembling the main pieces.
On curves, guide the fabric steadily rather than pulling it into position. Stop to reposition when needed, with the machine safely paused. Check the instructions before trimming or clipping allowances; cutting too close to a seam can weaken the area you have just made.
Keep fitting changes separate
If you deliberately change the stitching line during a fitting, record that adjustment. Otherwise the next piece may use the original allowance and no longer match. Mark paired pieces consistently and distinguish a fitting correction from a cutting mistake.
A test garment or scrap sample makes these decisions easier to see. Write the allowance beside the relevant step, especially when a project has been put away for several weeks. That small note helps you return to the intended construction instead of relying on the machine setting left from another job.