
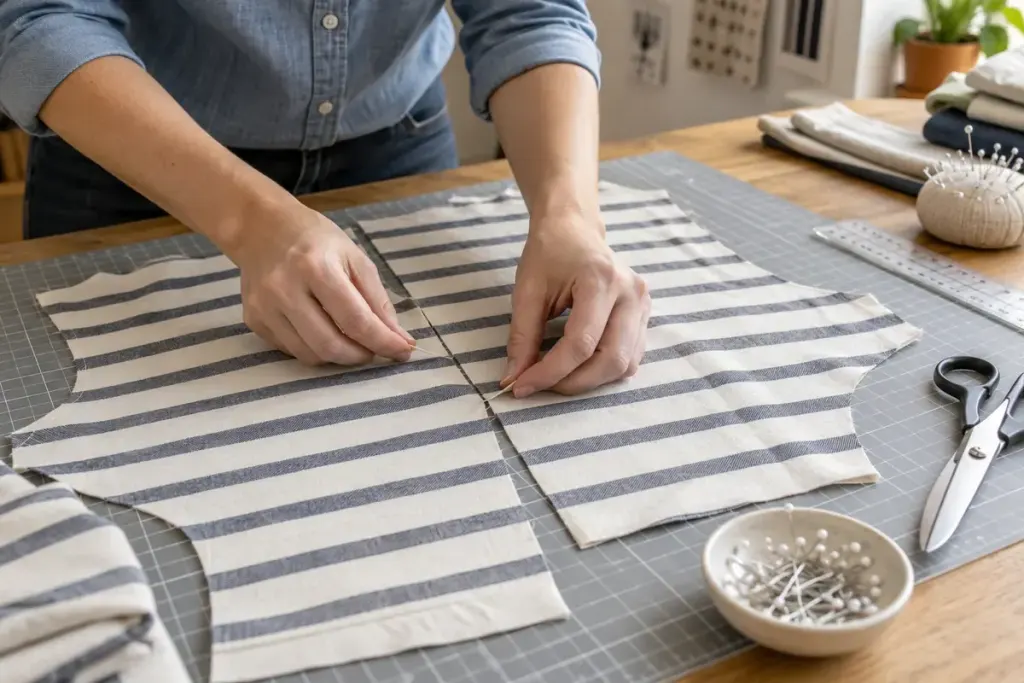
Two striped pieces line up perfectly at their raw edges. After sewing, the stripes appear to jump at the join. The missing step was checking where the seam would sit, inside the allowance, rather than where the scissors had cut.
Choose one visible stripe as your reference. On a garment, a prominent horizontal stripe crossing the front may matter more than an inconspicuous match under an arm. Decide which joins deserve priority before cutting; some shaped seams cannot match every stripe at every point.
Mark the line that will actually meet
Use the pattern’s specified seam allowance to locate the stitching line. Mark matching points with a method suitable for the fabric, tested on a scrap first. Keep notches, grain direction and the intended placement of the pattern piece in view. Matching a stripe is not a reason to rotate a piece away from its required grain.
Where practical, lay pieces out in a single layer so the pattern is visible. Remember to produce the correct mirrored pair when the design needs one. A beautiful stripe match cannot rescue two pieces cut for the same side.
Baste one short section
Pin or hand-baste at the intended matching points, then open the seam carefully enough to inspect the effect before final stitching. The test shows whether the fabric has shifted and whether your reference stripe meets where you expected.
In a simple practice sample, use two rectangles of the same striped cloth. Match one stripe at the seam line, baste, and compare the finished join with an edge-only match. This small exercise makes the geometry easier to see than experimenting on the most visible part of a garment.
Allow for pattern matching when deciding how much fabric to buy, using the pattern guidance and the fabric’s repeat. Keep the offcuts until the main joins are settled; they are useful for testing marking, pressing and stitching without repeatedly handling the project itself.