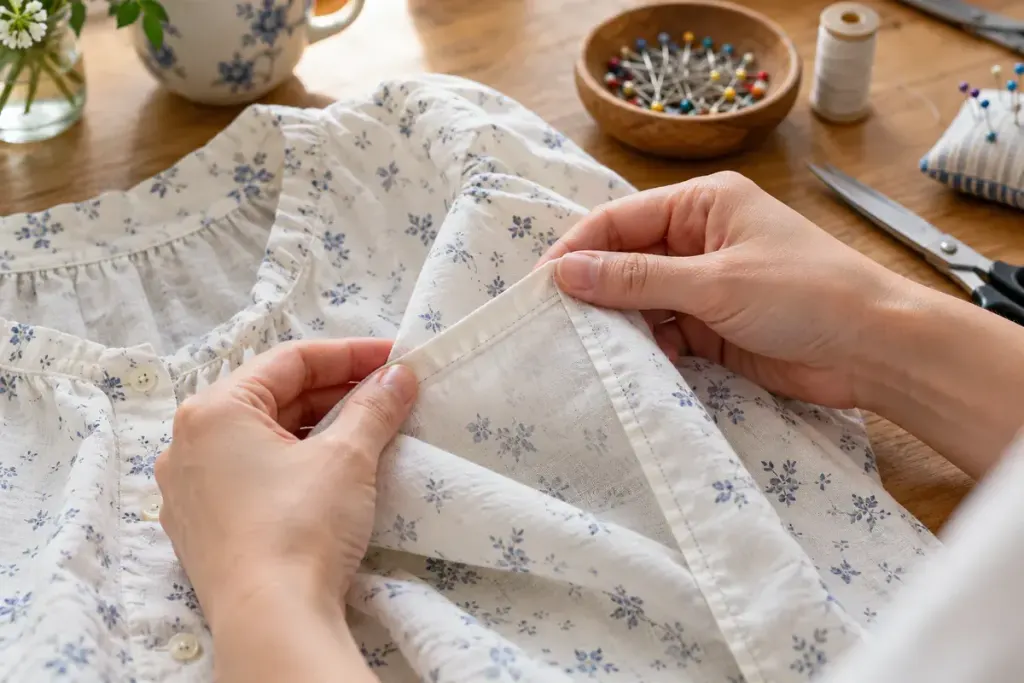
A French seam looks tidy because the raw edges finish inside a narrow fabric enclosure. Its construction can feel back to front the first time: the initial seam begins with the wrong sides together, then a second pass encloses that first edge.
BERNINA’s French seam tutorial on WeAllSew shows the sequence. The method is especially useful when an exposed, fraying allowance would spoil the inside of a lightweight project. It is not a reason to replace every seam finish indiscriminately.
Work from the total allowance
Before sewing, read the pattern’s seam allowance and decide how the two passes will fit within it. You cannot add a second seam to an already completed full-width allowance without changing the finished size. Draw the intended final seam line on a test piece if the arithmetic is difficult to picture.
- Make a sample from two scraps of the actual fabric, following a tutorial compatible with your allowance.
- Sew the first pass with wrong sides together, then trim and press as directed.
- Fold with right sides together and sew the enclosing pass, keeping the trimmed edge fully inside it.
- Open the sample and inspect both sides before using the method on the garment.
Look for whiskers and bulk
If tiny raw threads emerge on the finished outside, the enclosed edge may be too wide, unevenly trimmed or insufficiently contained. Diagnose that on the sample instead of simply sewing another line farther into the garment. Each extra line can consume fabric needed for the fit.
Press the sample and feel it between your fingers. A finish that looks elegant in fine cotton may become bulky in a heavier textile. Curves, intersections and openings also deserve a trial; a straight practice strip cannot prove that every part of the project will behave the same way.
Label the successful sample with the fabric and allowances. That small reference is more dependable than remembering only that you used “a narrow seam.”