
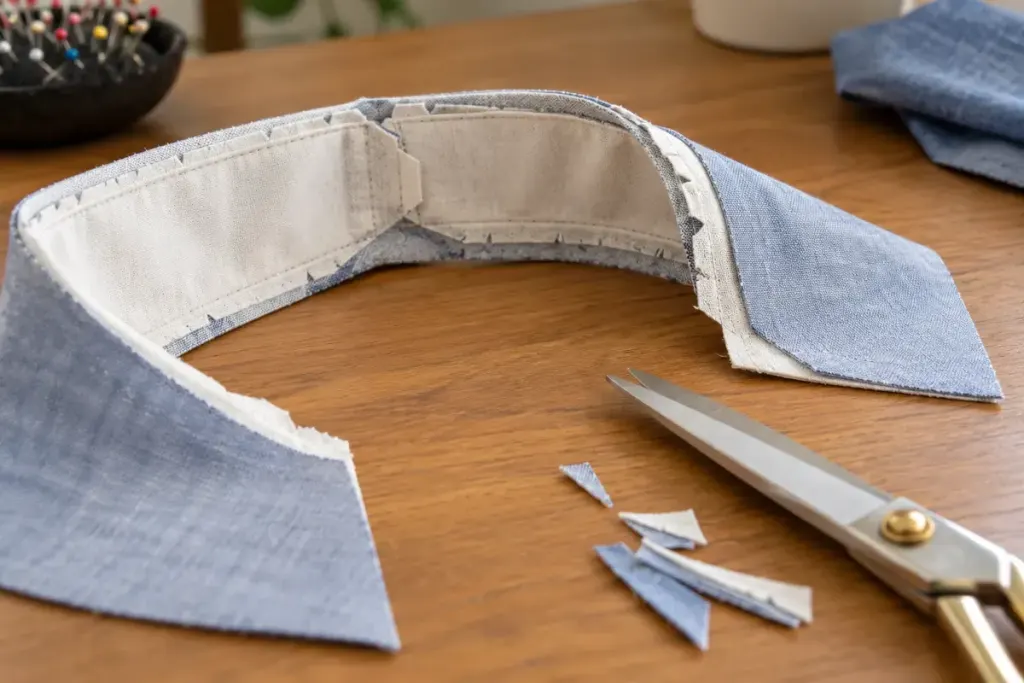
A collar can be neatly stitched yet feel thick and resistant when turned. Several seam allowances are stacked inside the edge. Grading reduces that pile by trimming the layers to different widths, allowing their edges to fall in steps instead of forming one ridge.
This is different from clipping into a curved allowance or trimming a corner. Those operations address other sources of resistance. Decide what the shape needs before making an irreversible cut.
Test the layers you are actually sewing
Make a short sample with the same fabric, interfacing and number of layers. Turn and press it as the finished piece will be handled. A lightweight cotton and a thick coating fabric may need different treatment, and a loose weave may not tolerate very narrow allowances.
Check the seam first. Correct a skipped stitch or an uneven line while there is still enough material to work with. Trimming before checking the construction can turn a simple repair into a recut piece.
Separate the edges carefully
- Lay the allowances flat and identify each layer.
- Trim one layer at a time, keeping the cutting blades away from the garment body.
- Stagger the widths according to the pattern’s instructions and which side will be visible.
- Turn gently and inspect the edge before pressing.
There is no universal measurement that suits every collar. Leave enough allowance to protect the stitching and resist fraying. Around a corner, do not cut so close that turning pressure opens a hole.
Press with a temperature and method suitable for both fabric and interfacing. A hard press cannot make an excessive stack disappear, and too much heat can mark the surface. Compare the graded sample with an ungraded one under side lighting. The improvement should appear as a smoother edge and a more cooperative turn, not merely as less fabric left inside.