
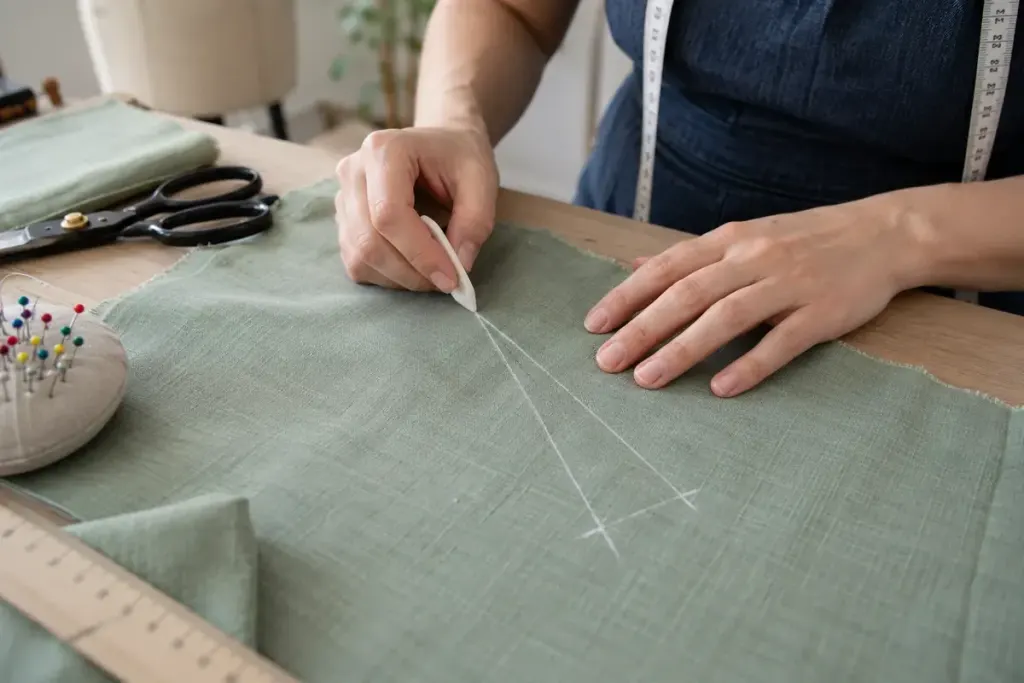
A dart turns flat fabric into space for the body. Its wide end removes fullness; its narrow end must fade into the surrounding cloth. A neat seam can still leave a bump if the last few stitches end abruptly.
Begin with a scrap of the same fabric. Interfacing, a different weave or a very soft cloth can change how the point behaves, so a test on unrelated cotton may not tell you enough.
Make the two marked legs meet
Transfer the pattern’s dart legs and point with a marking method tested on the fabric. Fold with the right sides together, aligning the legs rather than assuming the fabric edge is a reliable guide. Pin or baste without shifting one layer ahead of the other.
For an ordinary single-point dart, sew from the wide end towards the point. Keep the approach smooth and gradually meet the fold. Avoid a sudden sideways turn in the final few stitches. Double-ended darts and unusual construction methods need the pattern’s own sequence.
Finish without a bulky knot of stitching
Heavy backstitching at the very tip can make a small hard lump. One common finish is to leave thread tails and tie them gently; use the technique specified by the pattern or your sewing teacher. Do not pull so tightly that the fabric gathers.
Before pressing, inspect the right side in ordinary light. If a pucker is already visible, pressing harder is unlikely to correct the sewing. Unpick the problem section carefully and make a smoother approach on the next attempt.
Press the dart in the direction required by the garment, using a pressing ham or suitable curved support when the area needs shape. Test the heat and moisture first. Flattening everything against a hard board can remove the curve you have just sewn.
Try the garment on before trimming or making irreversible changes. A tidy point cannot compensate for a dart that ends in the wrong place for the wearer.