
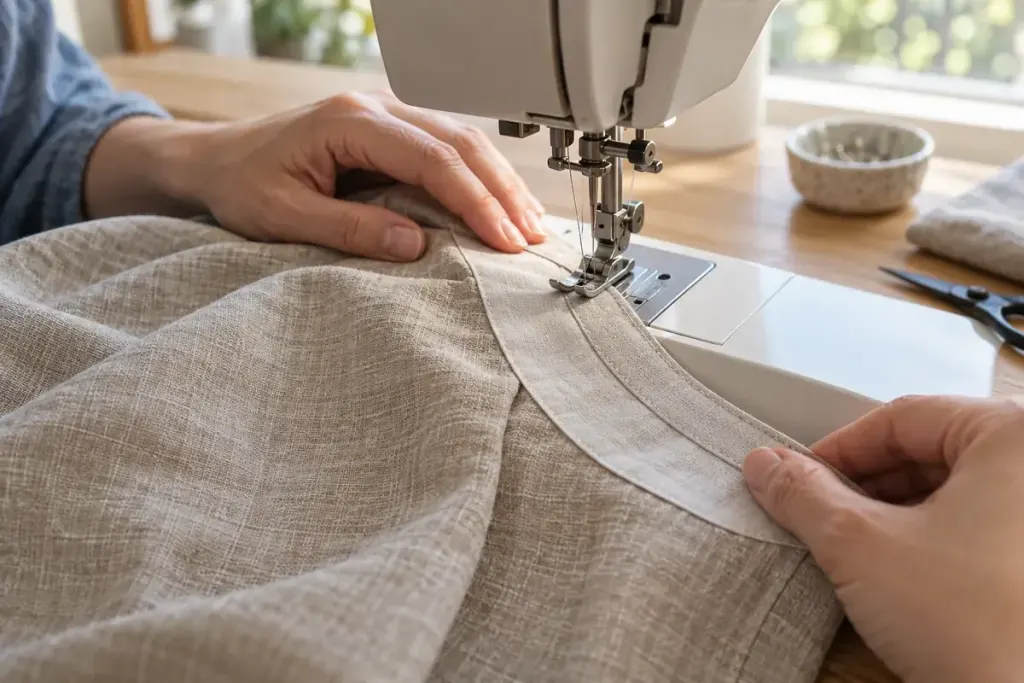
A neckline facing can look perfectly flat on the ironing board and then roll outward when the garment is worn. Understitching helps control that movement by attaching the seam allowances to the facing, close to the joining seam.
The important detail is which layers pass under the needle. The row belongs on the facing and its underlying seam allowances. The main garment fabric is kept clear. If you stitch through every layer with the facing folded inside, you are making a different, visible finish.
Practise on a small curve
Cut two curved scraps that resemble a shallow neckline and join them with the seam allowance required by your pattern. Follow the pattern’s directions for trimming and clipping so the curve can open without pulling. Press the allowances toward the piece acting as the facing.
Open the pieces out and stitch on that facing side, catching the allowances underneath. The Sewing & Craft Alliance understitching guide illustrates this relationship. Use the spacing in your garment instructions; an edge guide on the machine can help you keep the row consistent without staring only at the needle.
Turn the facing inside and press again. Compare the edge with an unstitched part of the sample. The facing should now be easier to encourage inward, while the outer fabric remains free of a topstitched line.
At a narrow shoulder or tight corner, access may become awkward. Stop where you can still control the layers rather than twisting the whole garment under the foot. Secure the thread ends and follow any separate instructions for anchoring the facing at shoulder seams.
- If the outside shows stitches, check whether garment fabric was caught underneath.
- If the edge puckers, inspect tension, clipping and pressing before sewing another row.
- If the facing still flips, check its shape and any specified interfacing.
Understitching is easiest to understand while the layers are open. Making the sample first turns an abstract instruction into a seam you can recognise when the real neckline reaches the machine.